Sphere Blog Post

IMG_9248.JPGIMG_0012.jpgIMG_3146 2.JPGParagraph:

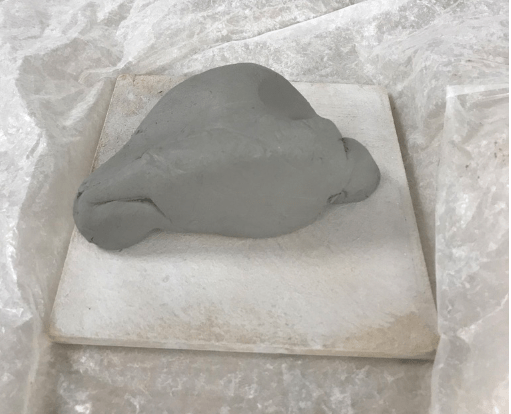
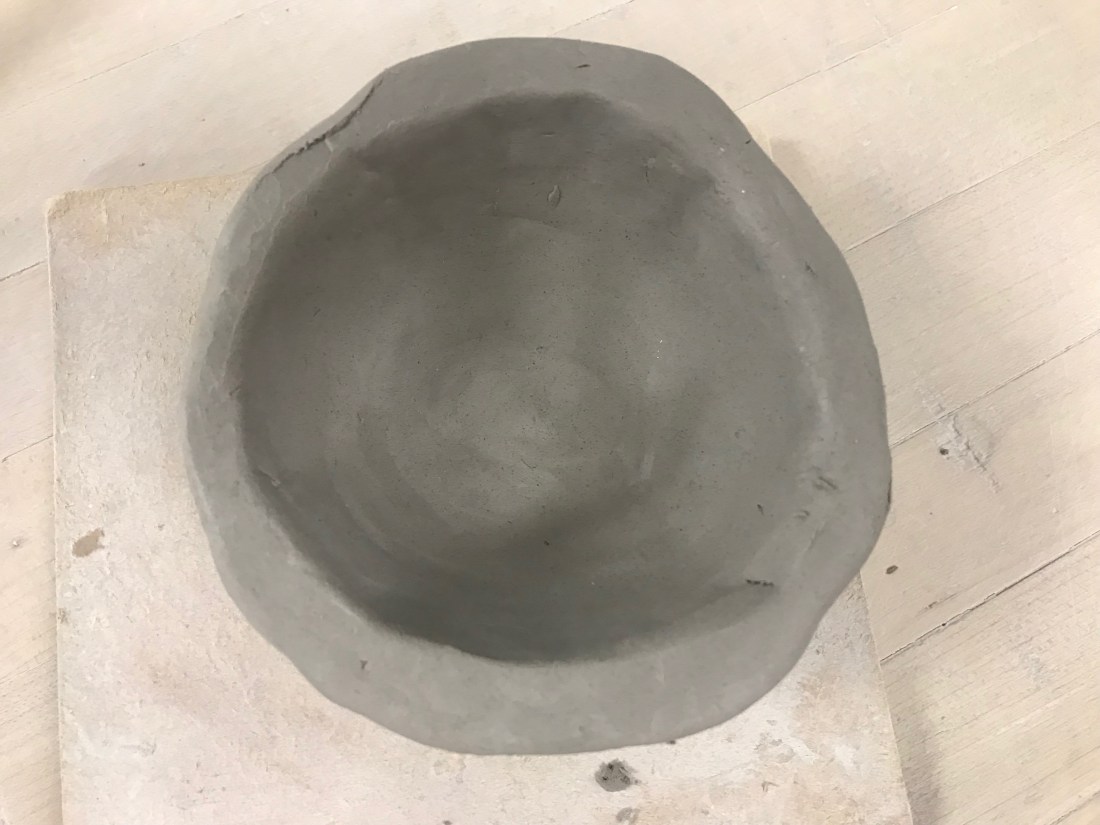
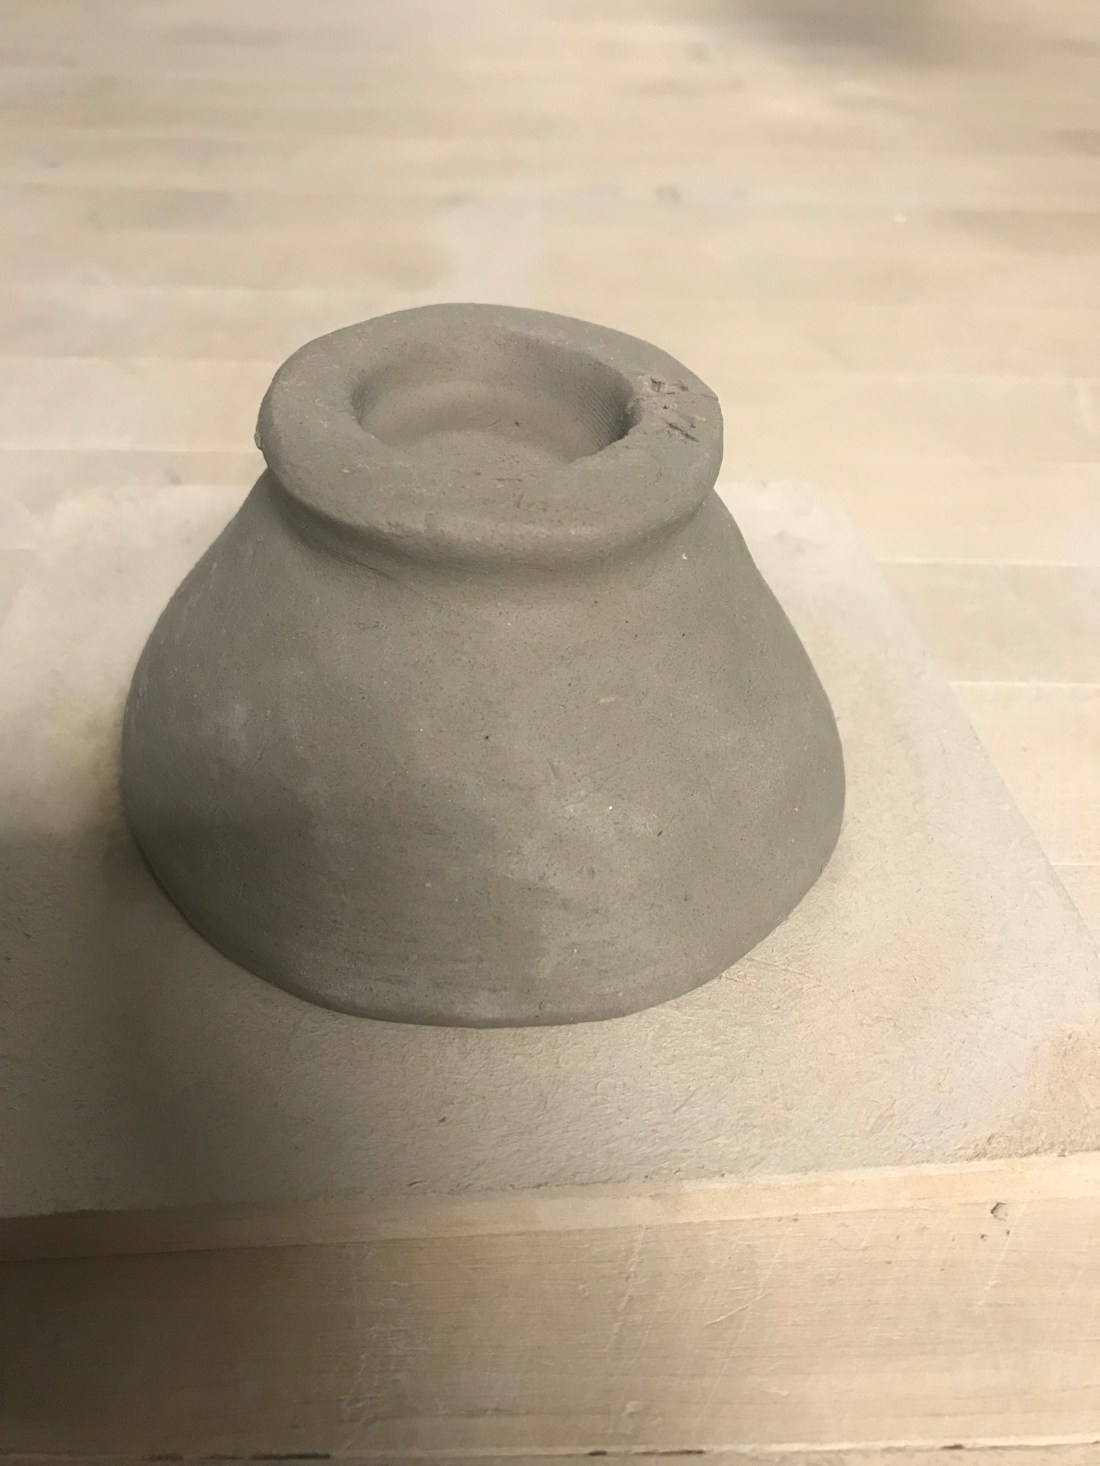
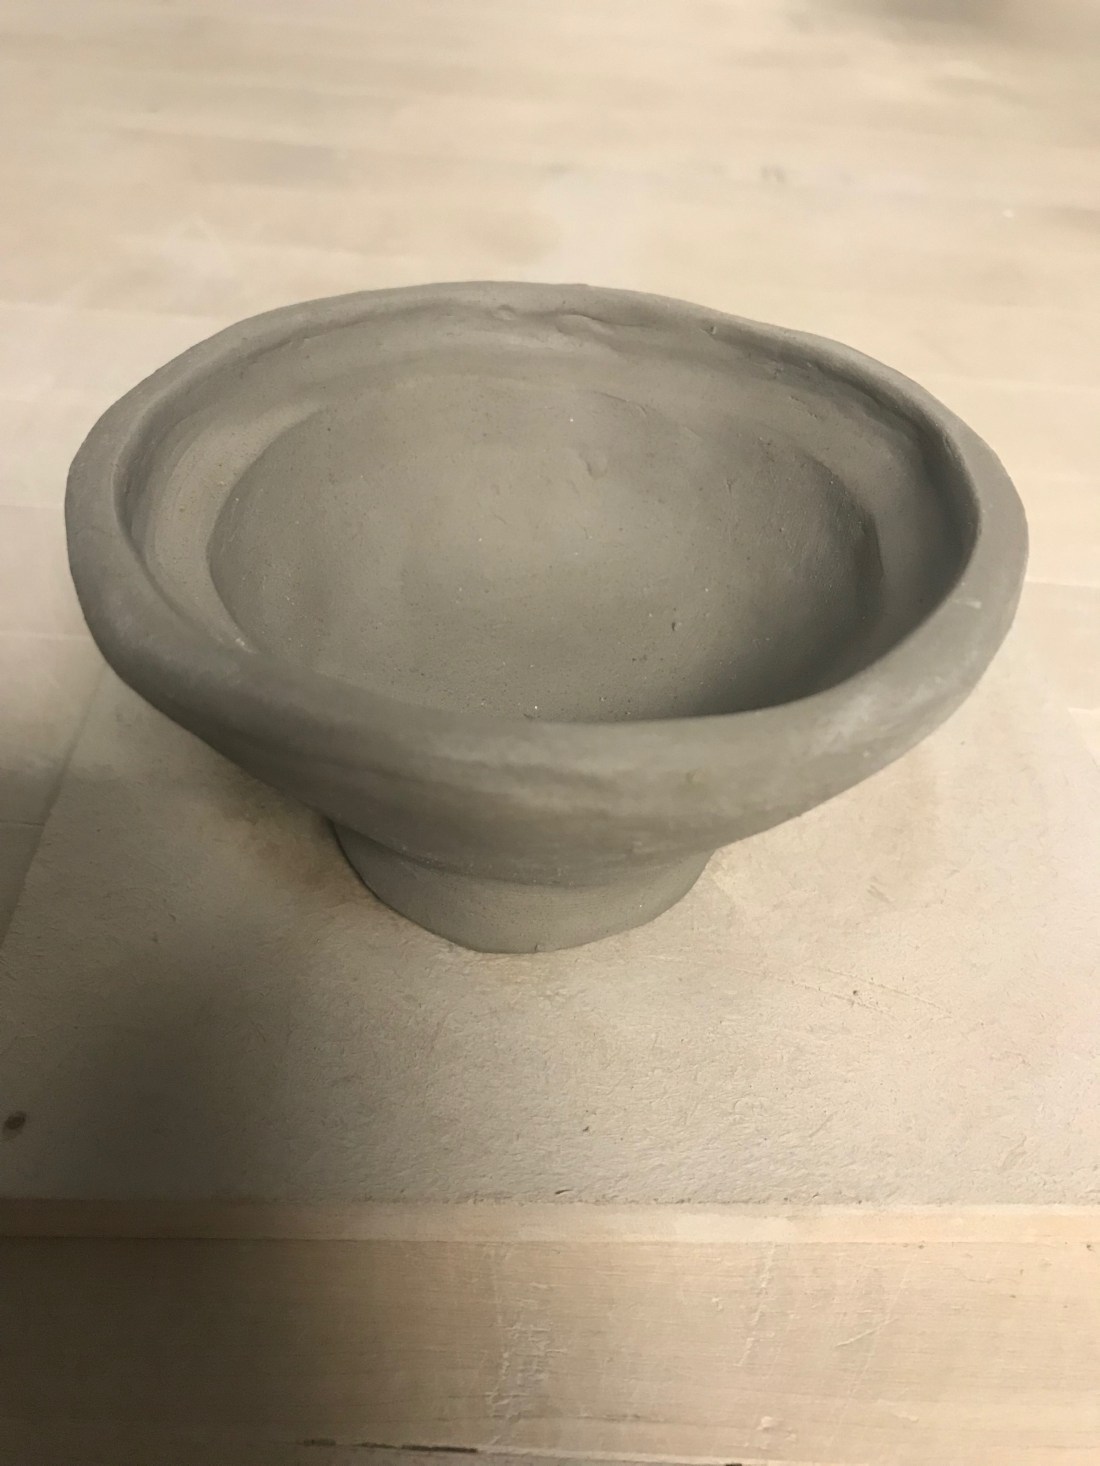
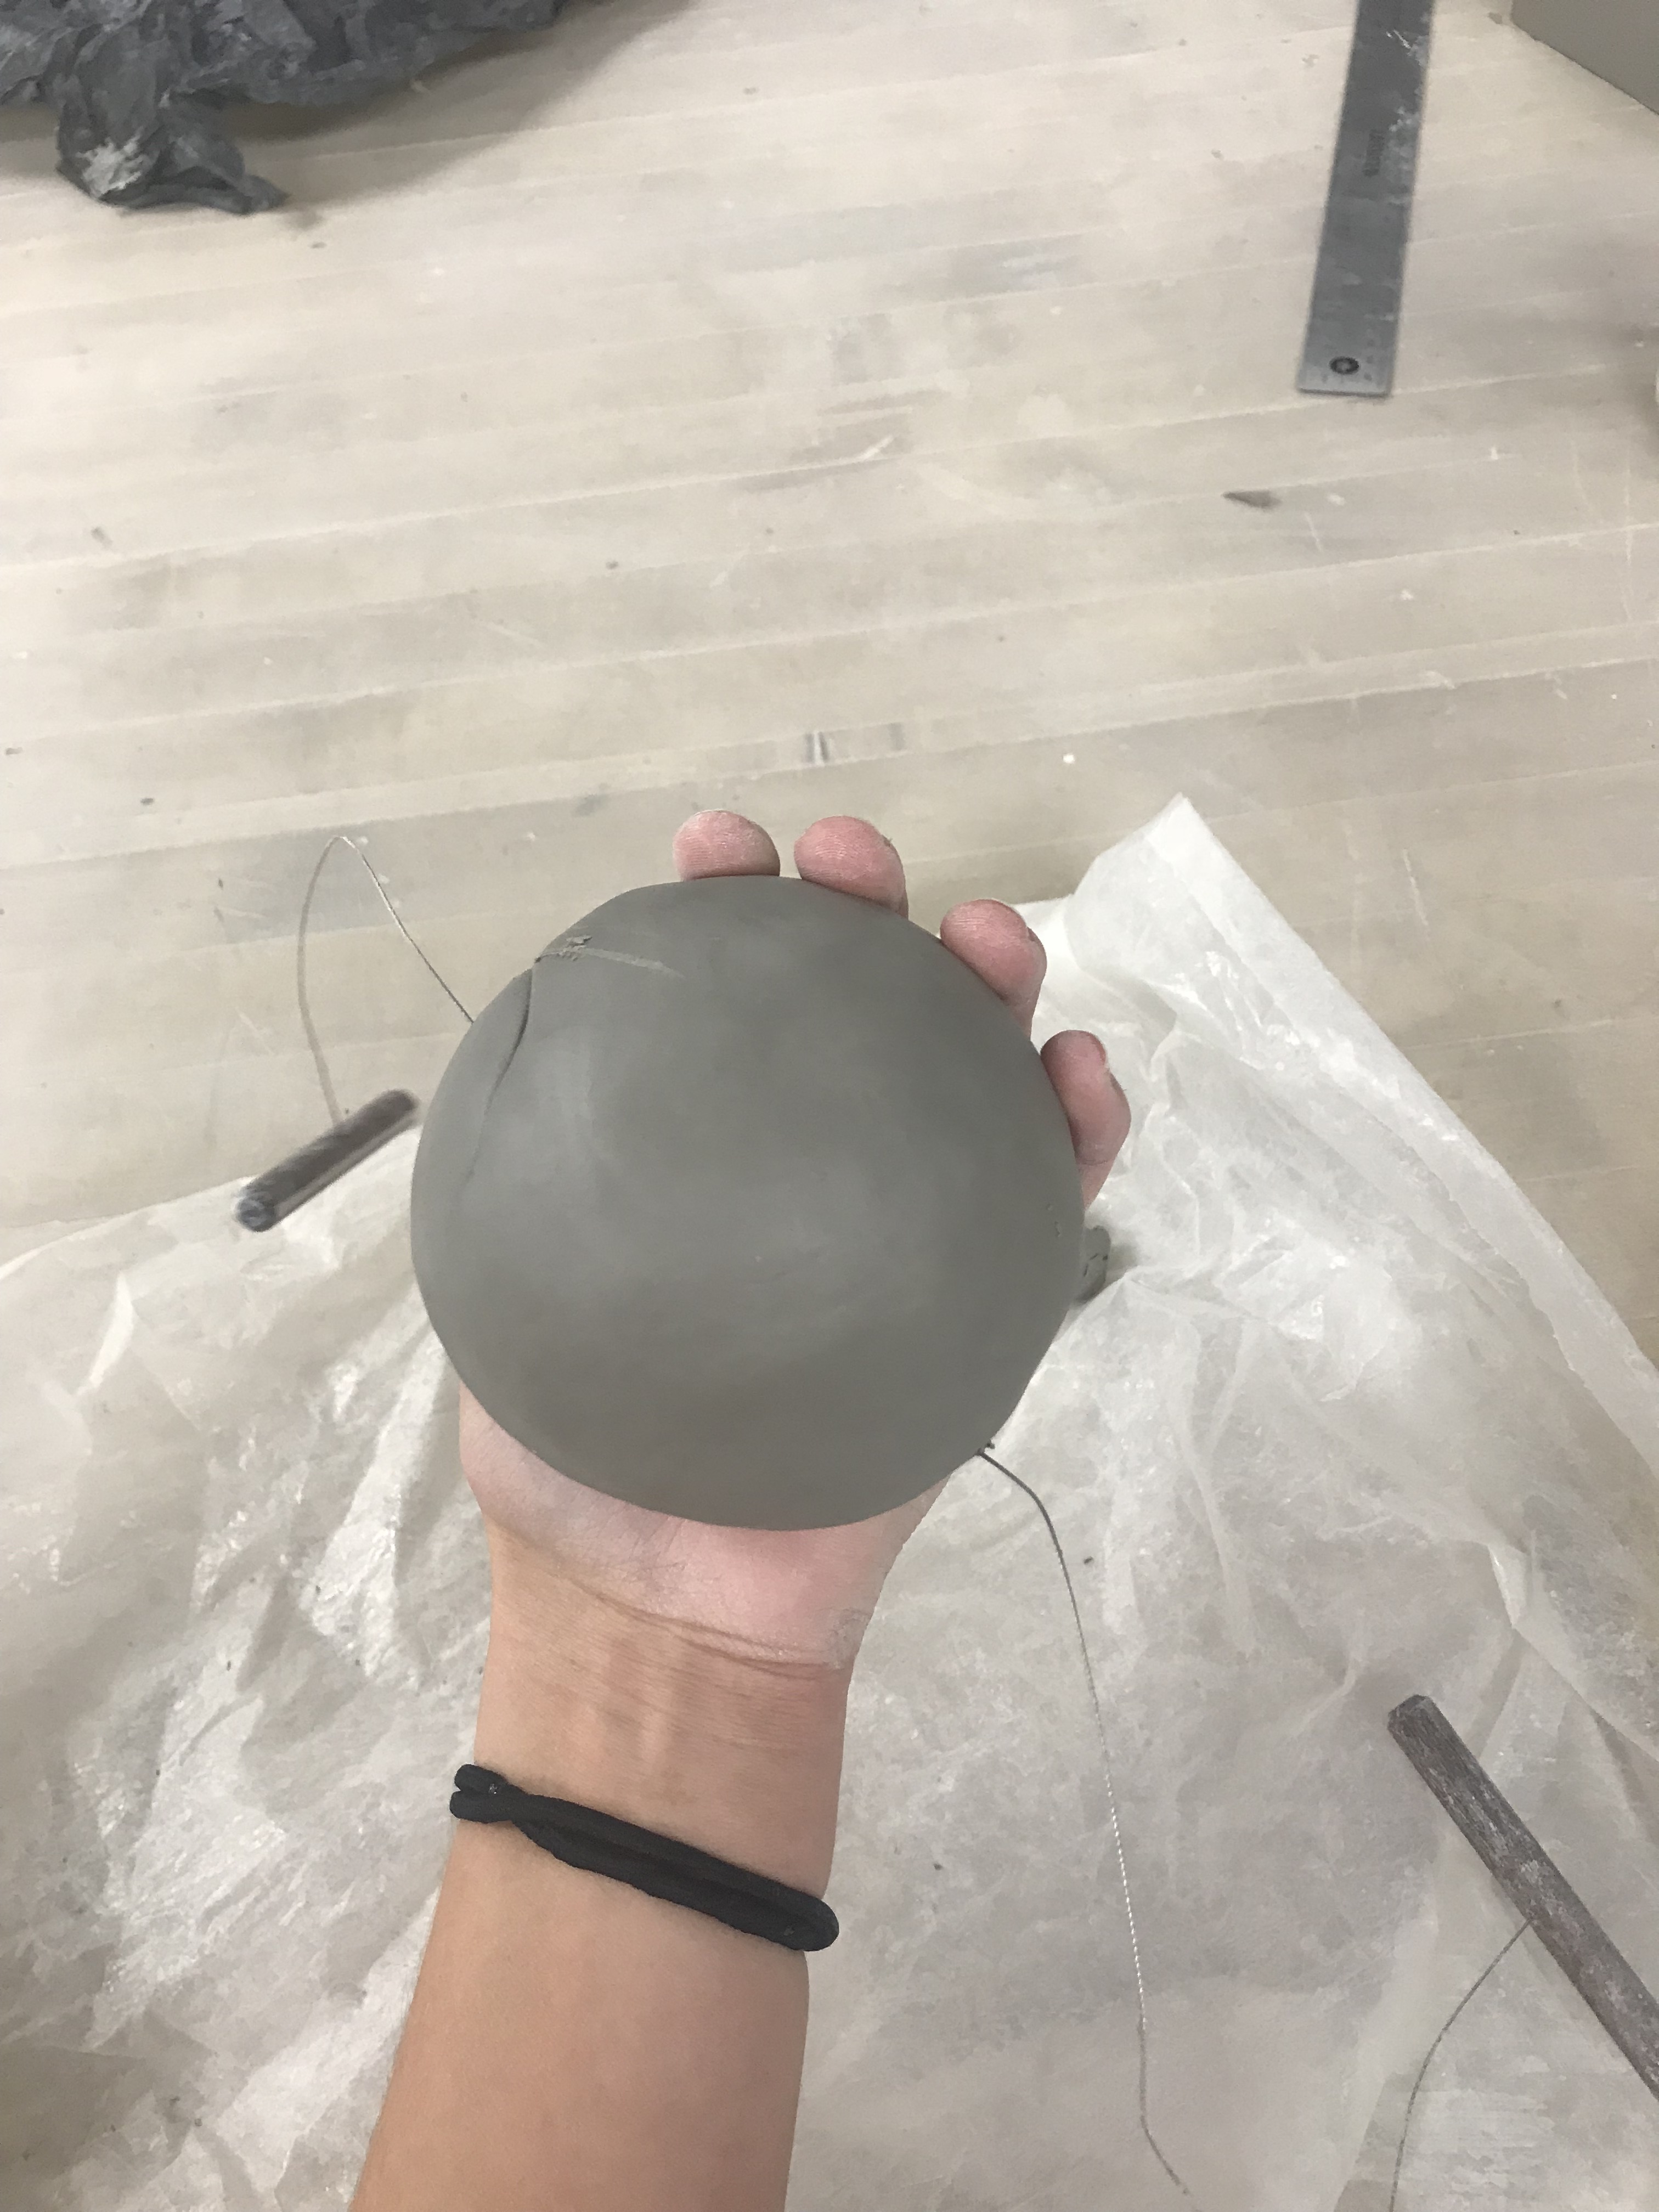
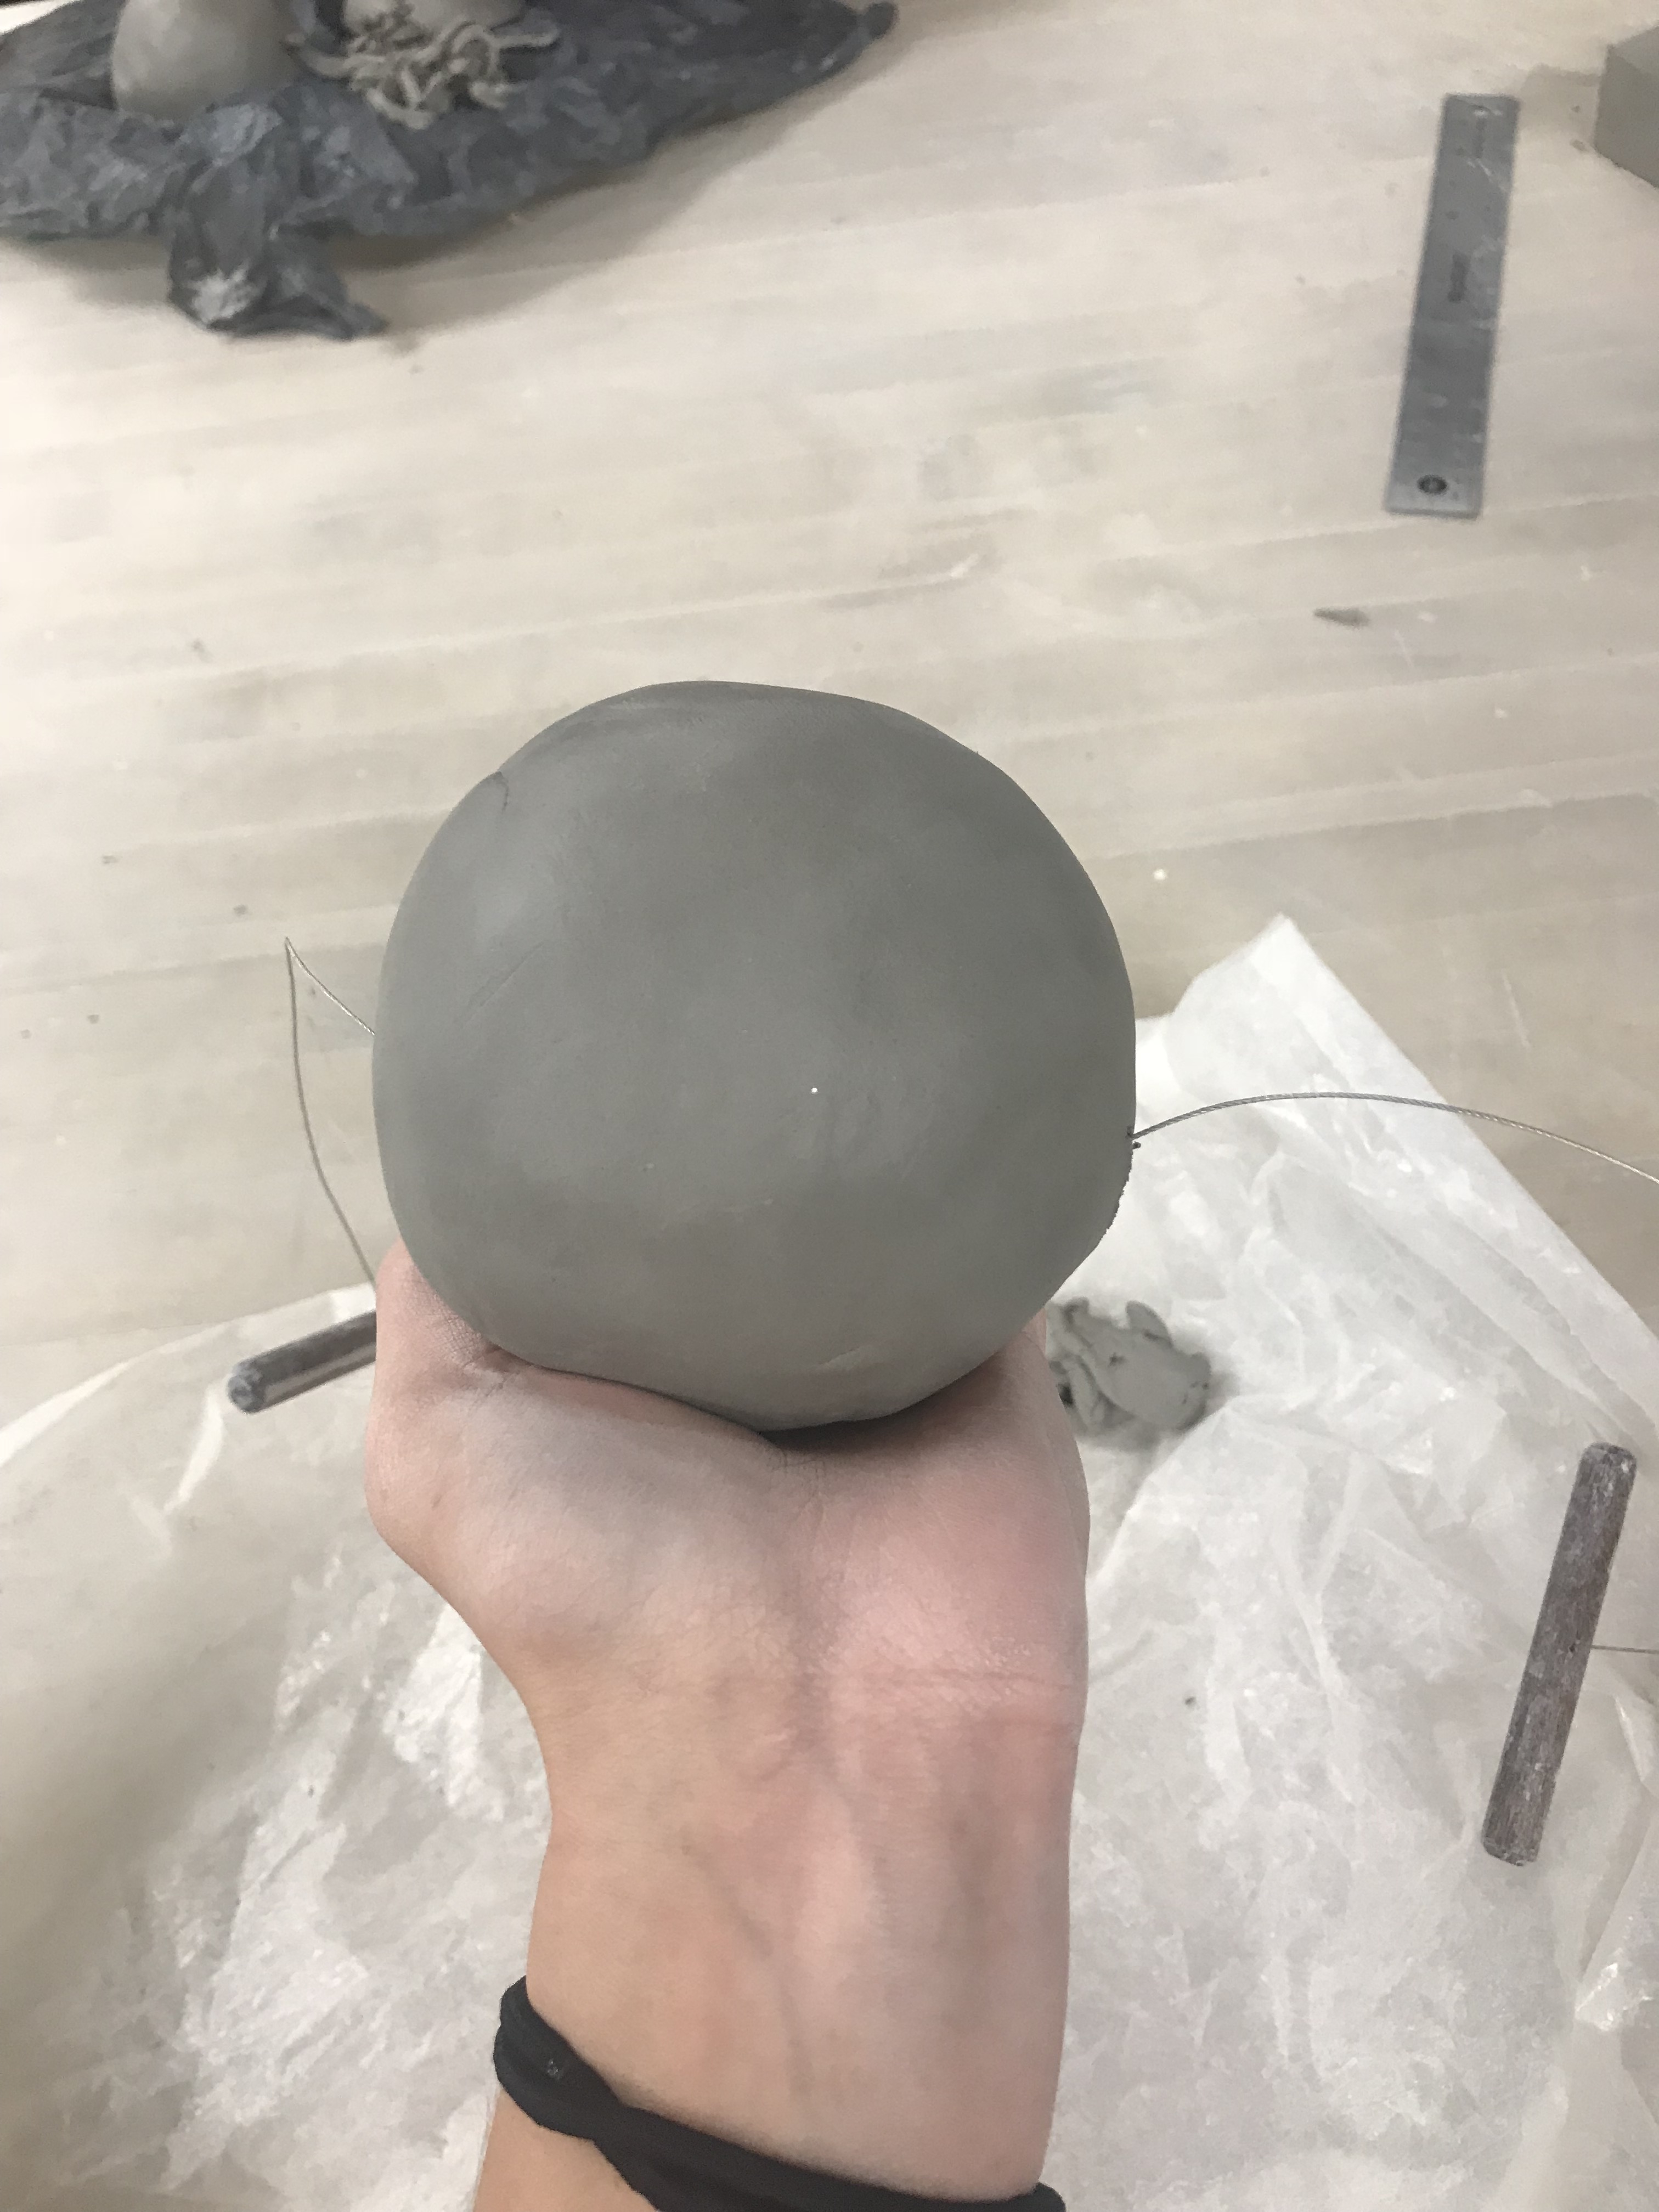
The three techniques that I used to make my spheres are coil, pinch, and hollow ball. Hollow ball was the easiest for me because by using this method, it was easier to predict the size of the finished product. I had success in combining my two halves of my hollow because their rims maintained a similar size. The hardest method for me to complete was coil because my coils kept cracking and the two coil halves resisted unity. To help with the cracking, I smoothed and sprayed them with water until they mostly disappeared. to help with the egg-like shape that formed in my coil and pinch, I used the paddle and used a shaving tool to help even it out. I even went in during my lunch to help perfect them. This assignment has taught me the three techniques for building spheres, which I will use constantly when working with clay, but the precision required for the exact measurements was a little too hard to be successful on. I would have liked to know that the sphere will expand in size while making it so I would have started out with a smaller piece of clay. Next time, I will be sure to refer to this piece of information I gathered from this project.

Teabowl Blogpost DUE 9/19

Day #1:

Screen Shot 2018-09-20 at 8.33.31 PM.png


Day #2

Screen Shot 2018-09-20 at 8.25.35 PM.png


Day #2

IMG_4742.jpg

________________________________________________________________________________________

Finished Greenware (after sanding): IMG_0185.jpg


Finished Greenware:

IMG_2472.jpg


Finished Greenware:

IMG_6827 2.jpg

Artist Statement:

(1) I gave my teabowl one distinctive quality that separates mine from the crowd. There is an aditional rim carved under the main rim (can be see in the picture above). This design was unintentionally made during an attempt to remove some of the interior clay. when I saw the effect the initial cut had on the bowl, I decided to carry on with it and turn it into a meaningful design.

(2) This feature was made with a wooden ribbon tool and also required slow and steady hand. To create the structure of the bowl, I used the pinch method and built it up from a ball. To make the foot, I rolled a coil and attached it to the bottom of my bowl by using a smoothed edge wooden tool.

(3) The people at my table inspired some of my work because they encouraged me to embrace any mistakes or unplanned markings I made while working on my teabowl. This teabowl is supposed to represent simplicity and give off calming vibes to anyone who looks at it.

(4) My goal for this teabowl was to make a petite summer bowl that had simplistic yet beautiful features. While making this bowl, I learned the fundamentals of working with clay and how to problem solve issues such as cracking and breaking. My goal as an artist in this class is to grow in my understanding of ceramics and to create useful and visual appealing works of art.

(5) This piece has given me the confidence to go bigger and include more intricate details with my future artworks. I learned that I have the ability to troubleshoot minor problems and I have gained some knowledge about how to prevent some problems from happening in the first place.


Interveiw With A Buddy

I interviewed Liam Kelly, who is a freshman at MIHS. Liam prefers to go by Liam and has never had a nickname. The person he most admires is his dad because he travels around the world and lives an ideal life. He is passionate about golf and is proud about qualifying for districts Washington Golf Junior League. His favorite food is pizza and he is most happy when he’s with his friends. In the future, he hopes to be a professional golfer, but if he is unable to become a golfer, he wants adapt an occupation that requires math.